GNU/Linux Desktop Survival Guide
by Graham Williams

|
|
GNU/Linux Desktop Survival Guide by Graham Williams |

|
|||


The most basic mode of operation of Debian is through the console with a command line interface. This is, after all, how Unix users have interfaced with Unix for more than thirty years. In a modern environment though we expect to be able to use the point-and-click interface with the desktop metaphor invented by Xerox in 197XXXX and popularised by the release of the Apple Macintosh in 1984, the X11 Window System in 1986, and finally with MSWindows in 1995.
It is the X Window System that provides the platform for today's graphical user interfaces in Debian and many other platforms. The X Window System is really nothing more than another application sitting on top of the Linux kernel. However, it is special in that it uses a client-server architecture so important to a multi-user, multi-hardware, networked environment. The significance of this is that you can run your X Window System application on one machine (whether it is a Debian, Redhat, Solaris, Macintosh, or Microsft machine) and have remote hosts of any type display directly to it.
As presented in Chapter 95 to run the X Window System we issue the command startx. With no further embelishments we have a basic graphical user interface running and can usually start up oher applications like Netscape. But this is just the start!
When you start up an application under the X Window System that
application will display a window on your screen. The raw window is
under the control of the application while the X Window System simply
handles the rendering of the window onto your screen. For a very
simply installation this might look like the screen in
Figure 95.1. You can get this with the command:
$ startx $(which -p xterm) |
Or to have this happen automatically each time you start the X Window System simply create an /.xsession file and with the single line:
xterm |
Then issue the command:
$ startx |
Either way this will start up the X Window System and then a terminal emulator (xterm) but absolutely nothing else. If you get an error like the following then you probably already have an X Window System session running on the default virtual terminal (vt07).
Fatal server error:
Server is already active for display 0
        If this server is no longer running, remove /tmp/.X0-lock
        and start again.


When reporting a problem related to a server crash, please send
the full server output, not just the last messages

Xlib: connection to ":0.0" refused by server

Xlib: Invalid MIT-MAGIC-COOKIE-1 key

giving up.

xinit:  unable to connect to X server

xinit:  No such process (errno 3):  Server error.
|
The solution is simply to run the new X Window System server on a different virtual terminal (let's use vt09, but it could be vt08 or vt10) and we will call the display by the name :1 rather than the default :0 which seems to already be in use:
$ startx xterm -- :1 vt09 |
or else
$ startx -- :1 vt09 |
When an application is specified as an argument to startx that application is run and the /.xsession file is not used.

|
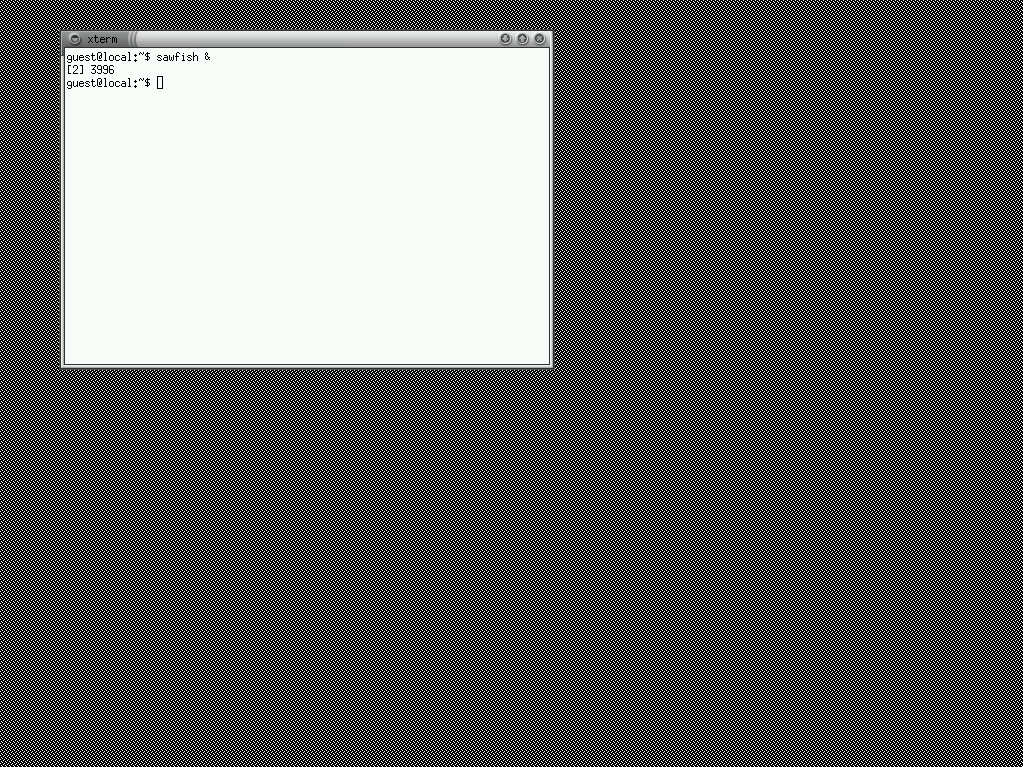
Note that there is no decoration on this single window. That is the job of a window manager but we aren't running any at the moment. There's plenty to choose from but let's stay with metacity. Metacity is a window manager that focusses on just managing windows--it leaves out a lot of the other features not specifically related to managing Windows that are supported by many other window mangers like Enlightenment. A window manager is no more than another X Window System application. So in the xterm window we can simply type the command metacity to run this window manager (and we run it as a separate job in the background so that we won't tie up this xterm--this is the meaning of the ampersand):
$ metacity & |
The result is the decorated window we see in Figure 95.2.

|
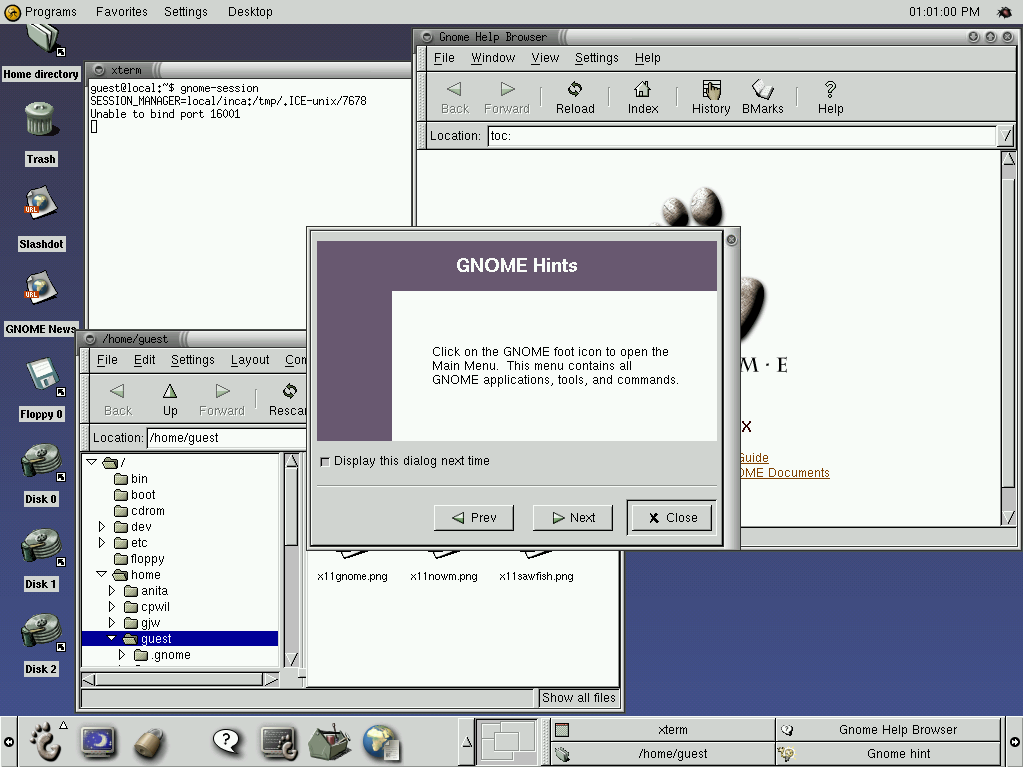
If instead you run the command gnome-session you will see the desktop in Figure 95.3.

|
To have this as the default behaviour it is suggested you replace the xterm in the /.xsession file with:
exec gnome-session |
Then next time your startx Gnome will automatically begin. Details of working with Gnome are in Chapter 38.